The Maslow CNC router is popular because it is large, open-source and cheap. It is uniquely well-suited in the CNC space for making furniture on a budget. This made it the ideal choice in my attempts to furnish the cabin cheaply during quarantine.
This article was written just before the M2 release.
But it is still relevant, and will be kept updated.
…but the first week with the Maslow was not as smooth as I would have hoped. The simple truth is that the setup of this machine is more on the “DIY” end of the spectrum than some users may be prepared for. To make matters even more challenging, it was my first experience with a CNC machine. I’m hardly a woodworking/machining professional, though building our vanlife van did give me some experience in the area.
The Maslow CNC community is very active.
The tools are getting better, quickly.
Maslow CNC Instructions
The open-[source|hardware] nature of Maslow can make it a bit challenging to navigate.
When I received my Maslow Jumpstart kit from MakerMadeCNC, the instructions pointed to a collection of Github Wiki. These pages weren’t quite up to sync with the reality of the evolving Maslow.
Translation: it was confusing to set up.
No products found.
Not because the information was not available, but because it was hard to find. For example, I learned that GroundControl (the application used to control the Maslow) had effectively been superseded by the superior WebControl. However, most of the documentation still refers to the original software.
There are different Maslow “distros”
Like with Linux, there are flavors of Maslow. The Maslow Classic had no z-axis and is rarely seen any more. The Jump-Start kit is sold by MakerMadeCNC and probably the most popular. The Metal Maslow is a forked implementation with a full-metal sled.
It appears that the M2 will likely have most/all of the benefits of the Metal Maslow. It may also address some of the following challenges I had setting up the Maslow CNC router (described below).
What’s (Not) In the Box
One reason the Maslow is so cheap is that you must buy additional parts.
Here is a complete list of things you (may) need to buy to build/use the Maslow:
- A router (the most popular, used in almost all documentation, is the Rigid R22002)
- Lumber for the frame (see below).
- Tools: a drill with a full set of drill bits and screw heads, socket wrench set, wood saw, hammer.
- Hardware: various wood screws, from 1″ to 3″ or so.
A tape measure is also necessary. One which lies flat and has metric measurements, including millimeters, is best. The ability to get accurate measurements of two 1/4″ holes spaced 1,200mm apart is integral to the calibration process (below). After lots of trial and error, I found that a tape measure meant for pipe diameters met all these requirements:
| Preview | Product | |
|---|---|---|
 | Perfect Pi Diameter Circumference Tape Measure - Imperial and Metric Tape Measure 1/2-inch by 12ft /... |
The MakerMadeCNC kits (above) do a good job at standardizing much of the equipment. It is possible to build a Maslow CNC machine with longer chains, larger gears, etc. To do so requires advanced knowledge of calibration mathematics. These physical features of the machinery are what drives all of the CNC computation.
Maslow could be built to many sizes and specs.
The open-source firmware is meant to support various configurations.
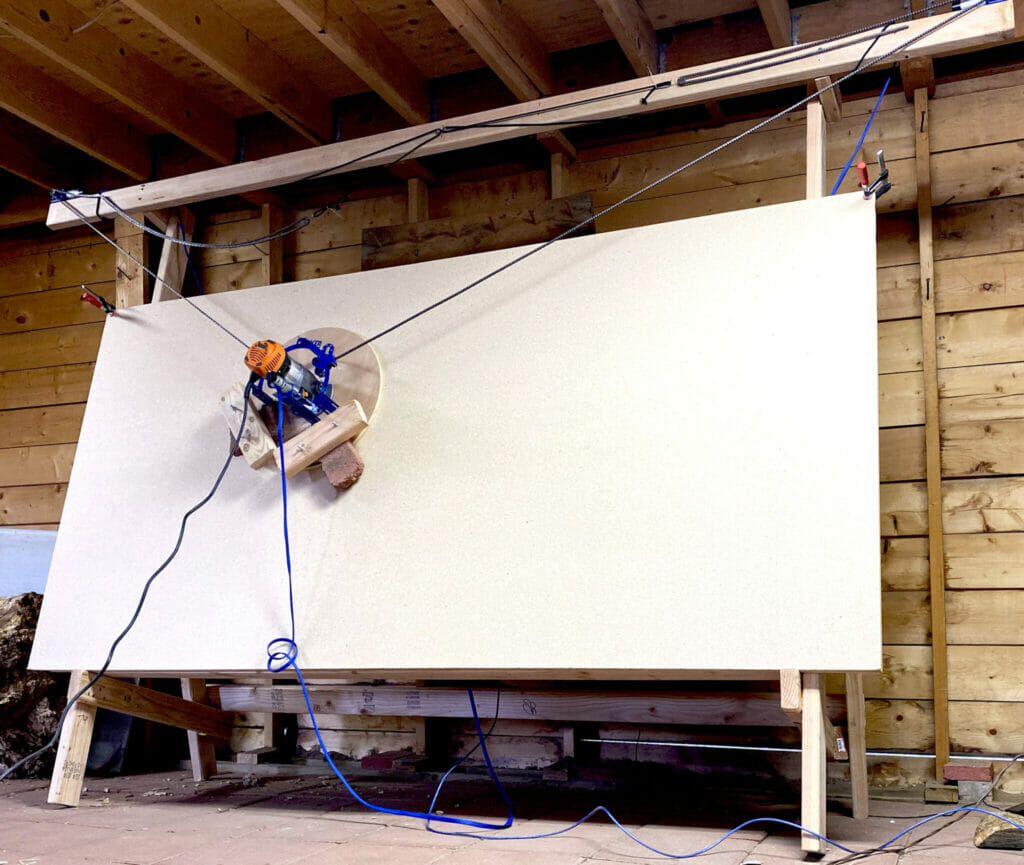
The thing which makes the Maslow CNC recognizable is the large hanging design, with the sled holding the router…
4×8 CNC Router
The frame holds the Maslow; it looks like a giant easel.

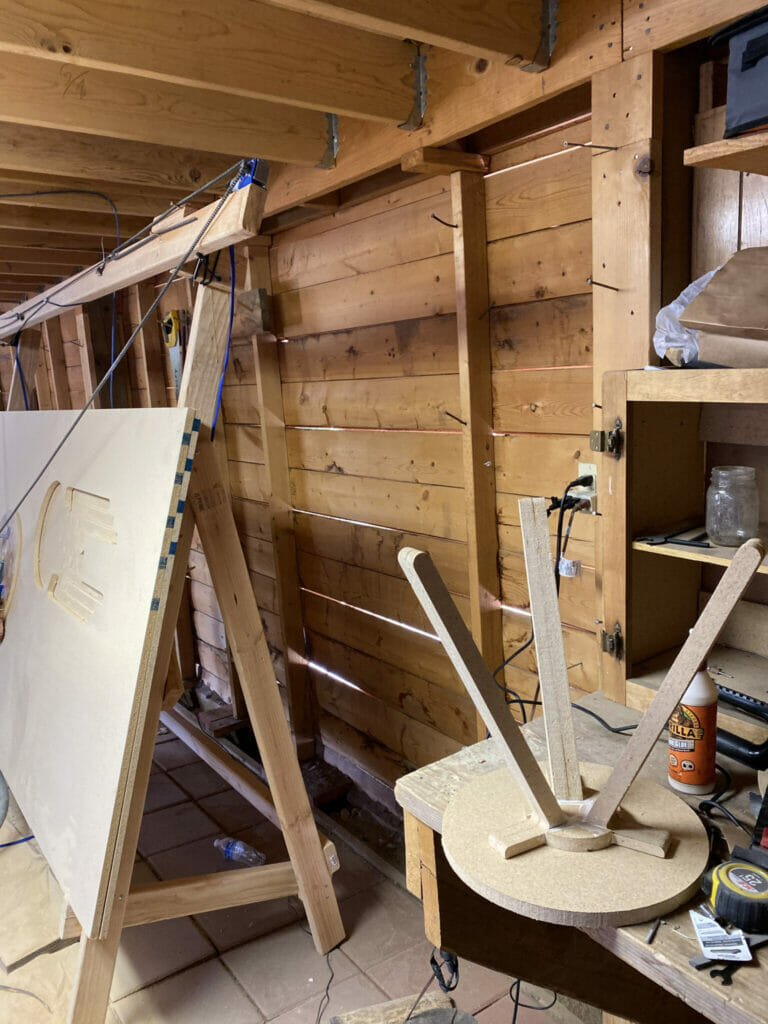
There are different frames, and you are expected to follow one of the frame build guides. In practice, though, the default frame is seen a lot. A 4×8 CNC router is sized for a standard sheet of plywood. It works, but it’s not without its problems.
It helps to quickly understand what the frame does, how it works, and how it can fail:
- The two motors, at the top left and right, pull the two chains.
- The sled is attached to the chains, and contains the router.
- An additional motor raises/lowers the router (Z-axis).
I found it best to play with the Maslow CNC’s router before calibrating it. This allowed me to find defects in movement. For example, the edges of the board can be difficult to reach (X/Y direction). The 2x4s which hold up the canvas can get in the way of the sled’s movement if they stick out too far. Or, in the above picture, insufficient tension on the top-left chain is putting the left motor in danger of wrapping the chain around the sprocket. All of these sorts of problems can be diagnosed before starting calibration by moving the sled around the canvas with WebControl.
Much effort has gone in to building a better Z-axis in the last year or two. The M2 uses a similar approach to the Meticulous Z-axis project. This involves building an entirely new housing for the router that can move itself up and down.
From this, you can see both the good and the bad of the community-driven approach. The bad side is that the Maslow is a constant work-in-progress. The good side is that progress is being made.
Calibrating the Maslow CNC
After a long day building, it was time to calibrate the Maslow.
The Maslow CNC documentation is littered with warnings about calibration. Like: if you get frustrated, come back tomorrow. Now that I finally understand the process, it doesn’t need to be so complicated. Calibration is actually relatively simple, especially if you’re using a kit which includes standard parts. I wish I had started with using WebControl (not GroundControl) and this series of videos.
It comes down to just three steps:
- Configure basic parameters, like the height of the frame (Actions->Quick Configure).
- Measure and mark chains (Actions->Set Sprockets and Chains).
- Run a test/calibration cut (and repeat until things are accurate).
The first is self-explanatory. The second has a feature that is easy to miss. If you mark the chains during this step, it gives you a “save point.” Should the chains come off the gears, slip, or otherwise become misaligned you can reset. Finally, the calibration cut will account for small errors having to do with the exact nuances of your setup.

But while we’re calibrating…
Fixes: Improving Accuracy
One significant improvement: upgrade the Maslow’s firmware to Holey.
This can be done within Web Control (Actions->Upgrade Holey Firmware). It enables Holey Calibration which, while more time consuming, produces much better results. It will drill 6 holes in a rectangular shape. Then, you use the mm tape measure (from above) to input 12 different measurements between holes.
Measure from the same side of each hole.
When measuring for calibration, if you start the tape measure on the left side of the first hole, the measurement should end on the left side of the second hole.
When the numbers are entered, Web Control will spit out a “calibration error.” The goal is to repeat calibration until the error is acceptably low. On the first try, my error was over 10%. On the second try, it was around 3%. I couldn’t get any better than that with a standard Imperial tape measure. The mm tape measure from above was able to consistently yield 1% or less calibration error.
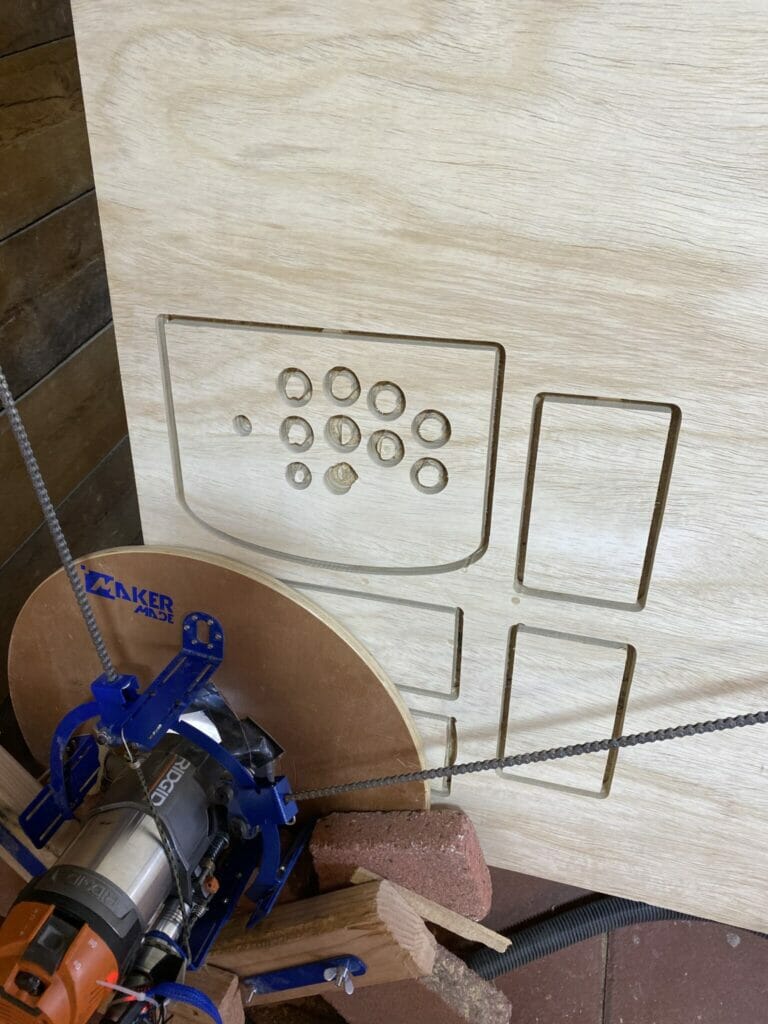
This means I can now use the bottom corners of the plywood without too much error:

Over time, I developed (and copied) even more improvements to the default Maslow CNC build:


Zane, this is a nice writeup. Do you have a design you would be willing to share for your end table of your first project? I’d like to remix it and add a framed glass top with the maslow cut legs. Oh, and how is MV-V2 coming. I’m still waiting for a beta copy.
I can try to dig something up! Shoot me a contact 🙂